Kitchen
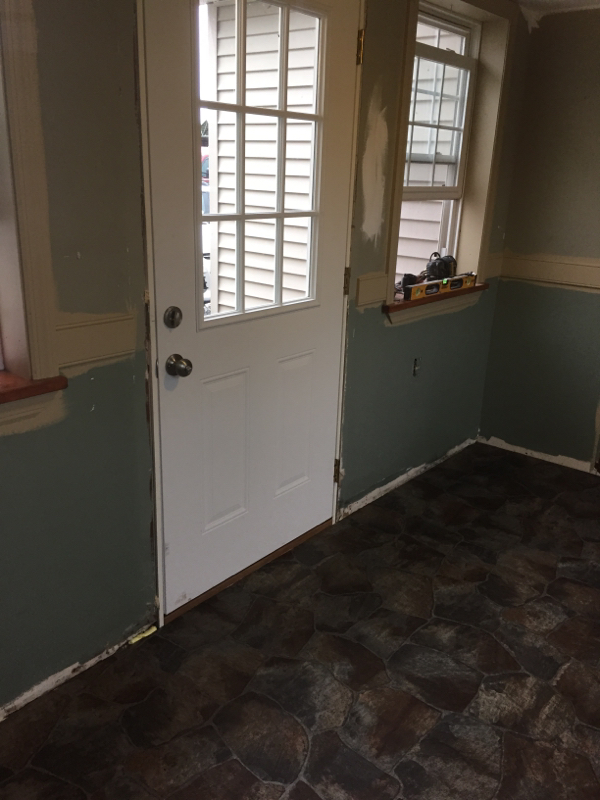
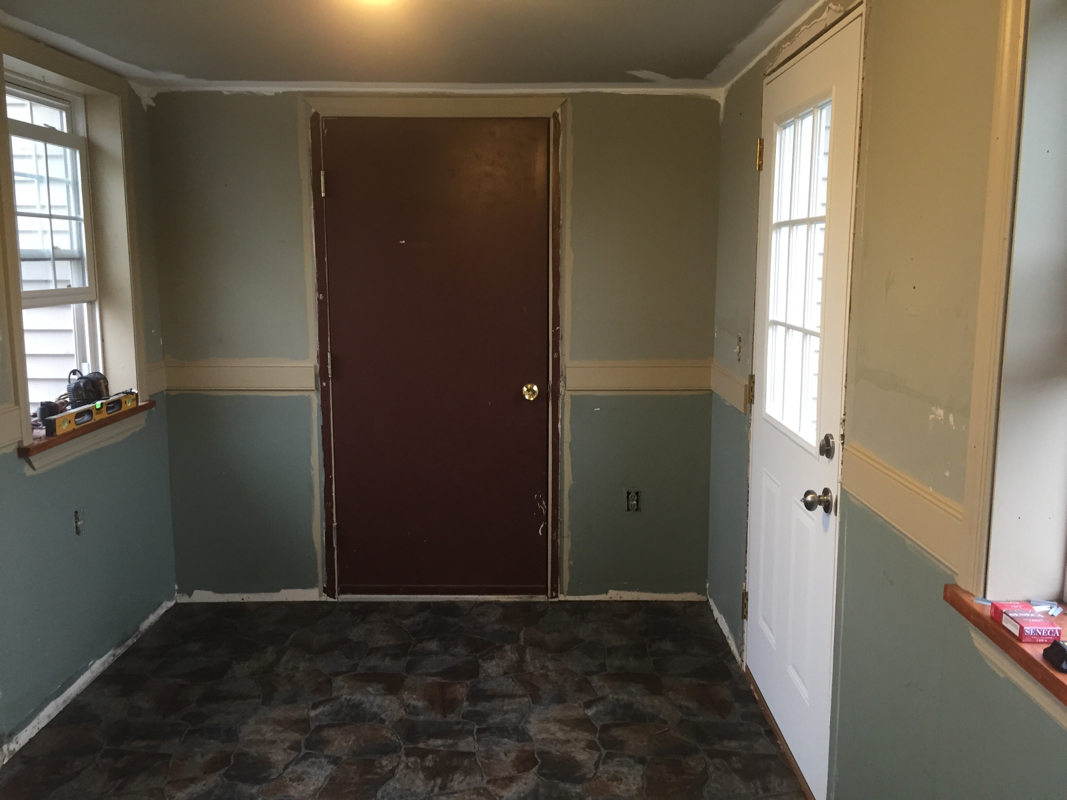
Over the winter I was fortunate enough to help a wonderful couple renovate their "new to them" townhouse. The previous owners added some laminate floor to the dining area but had left most of the townhouse original. 
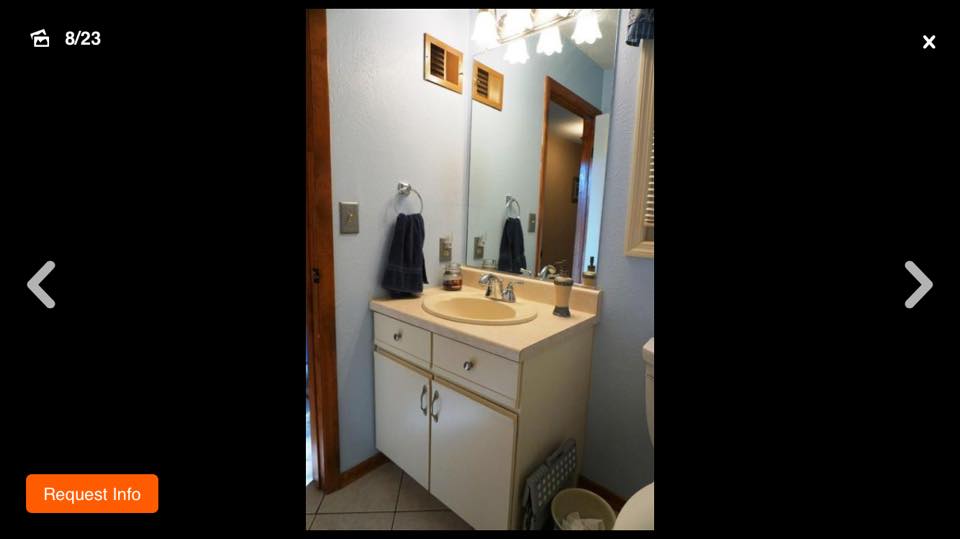
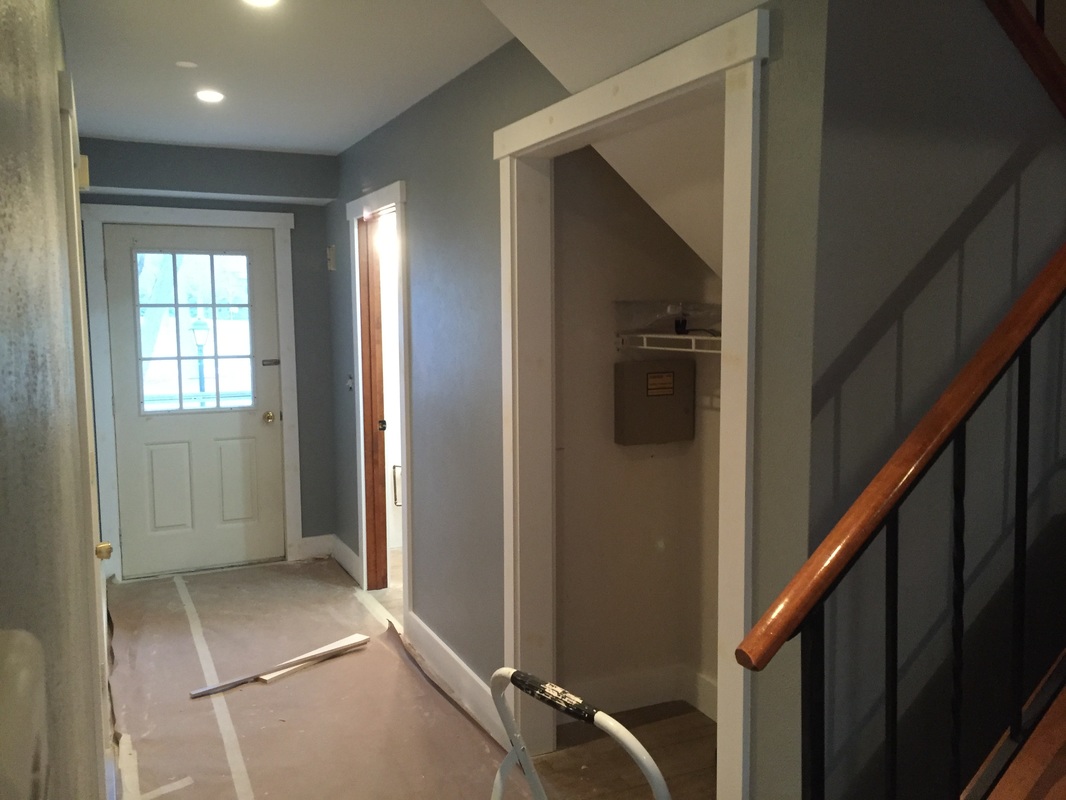
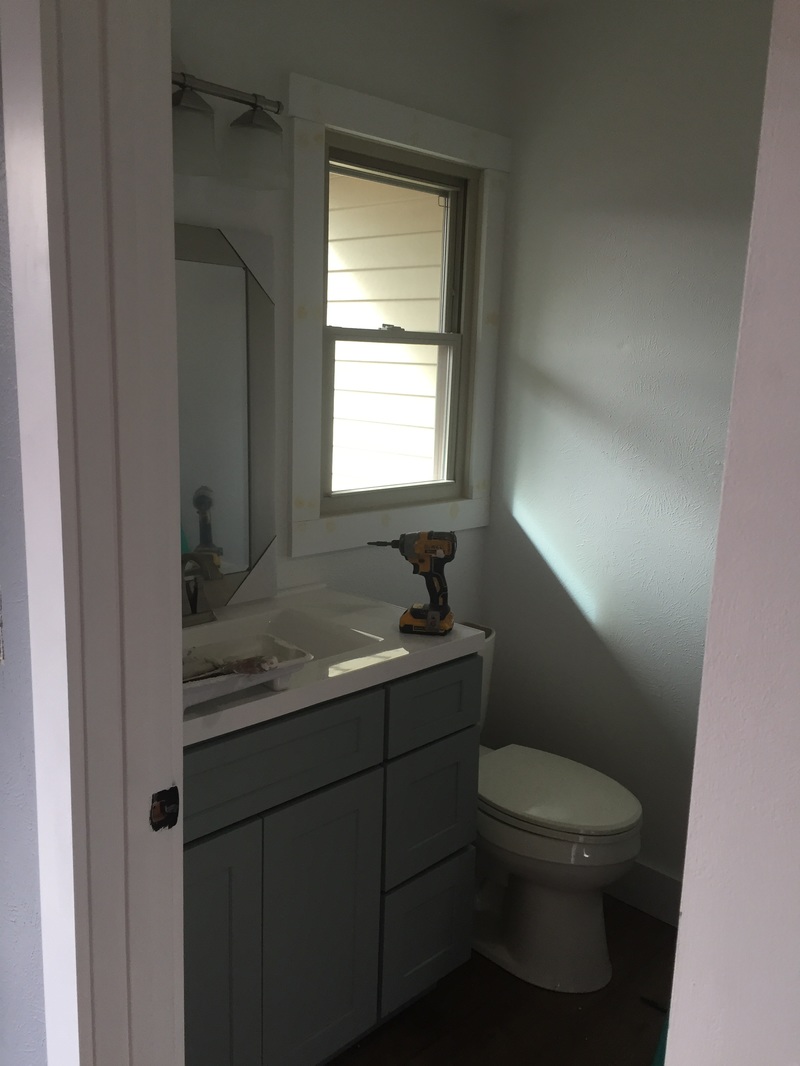
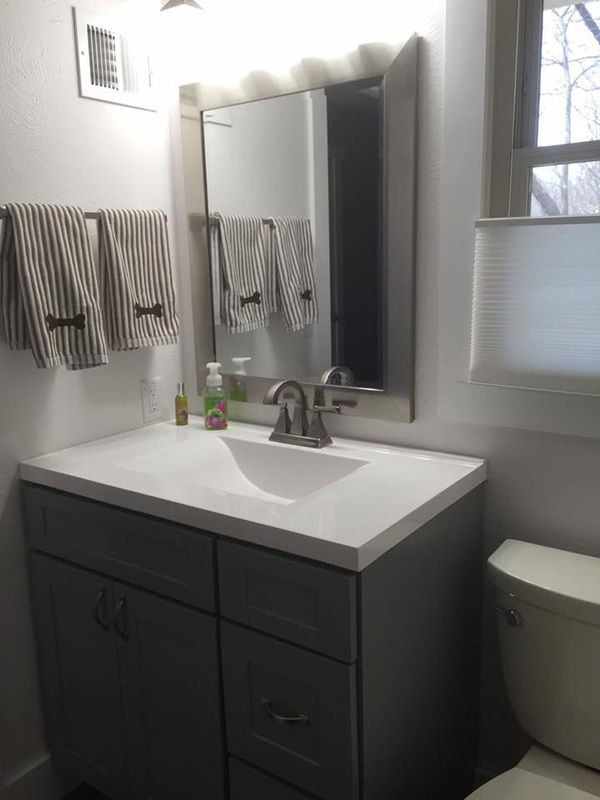
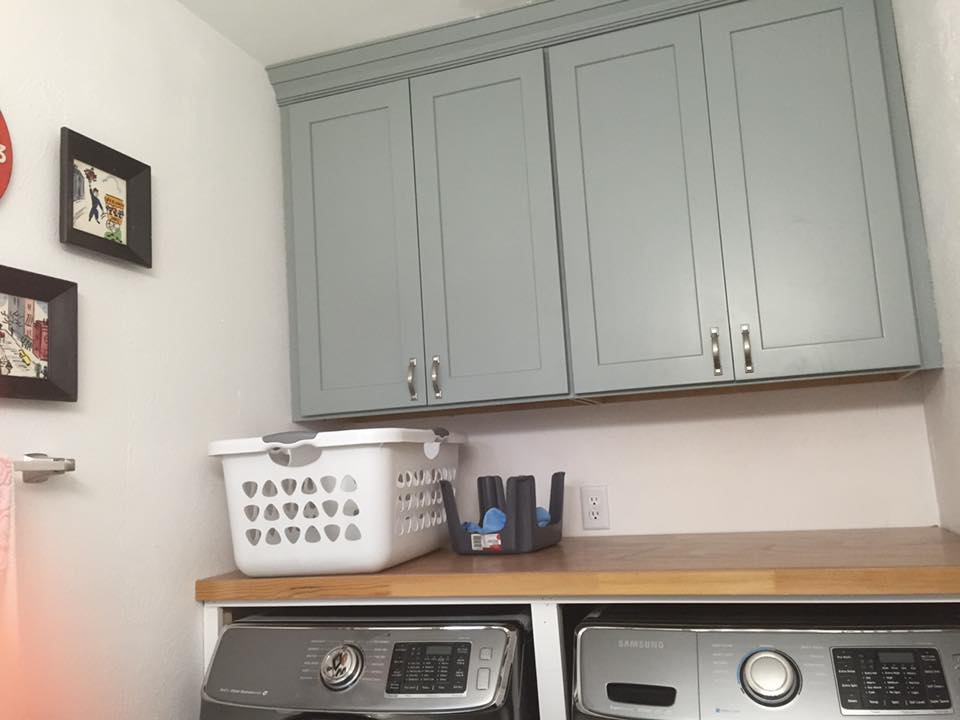
The first floor powder room doubled as a laundry. The Laundry was tucked away behind bi-folding doors.
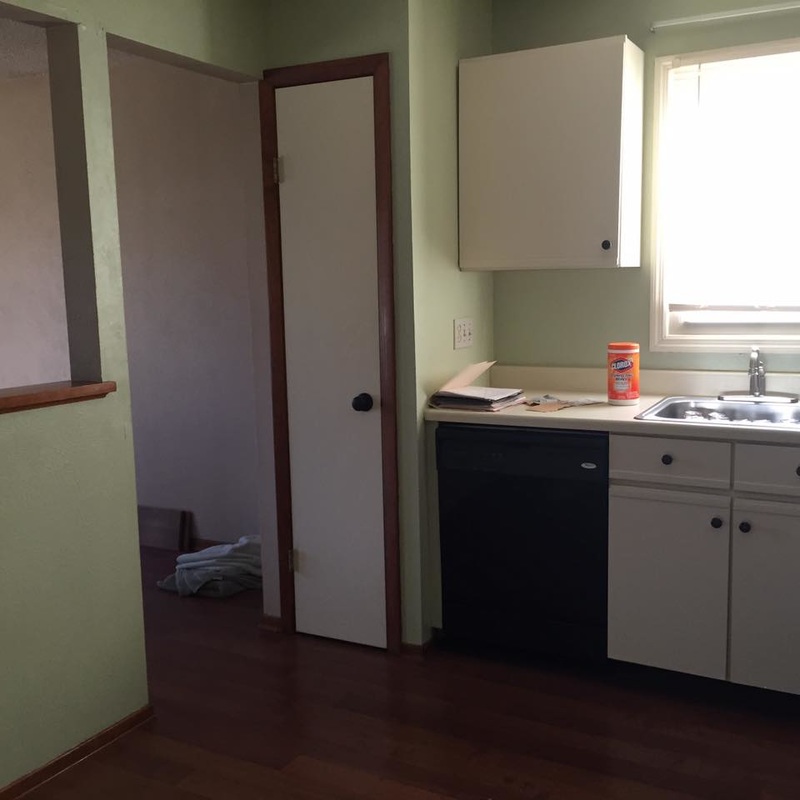
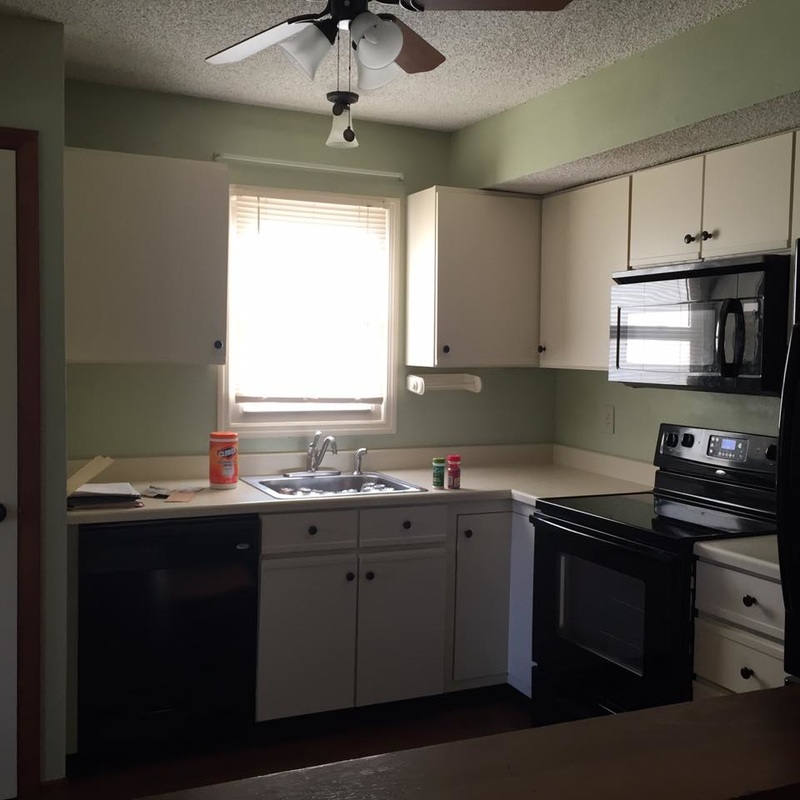
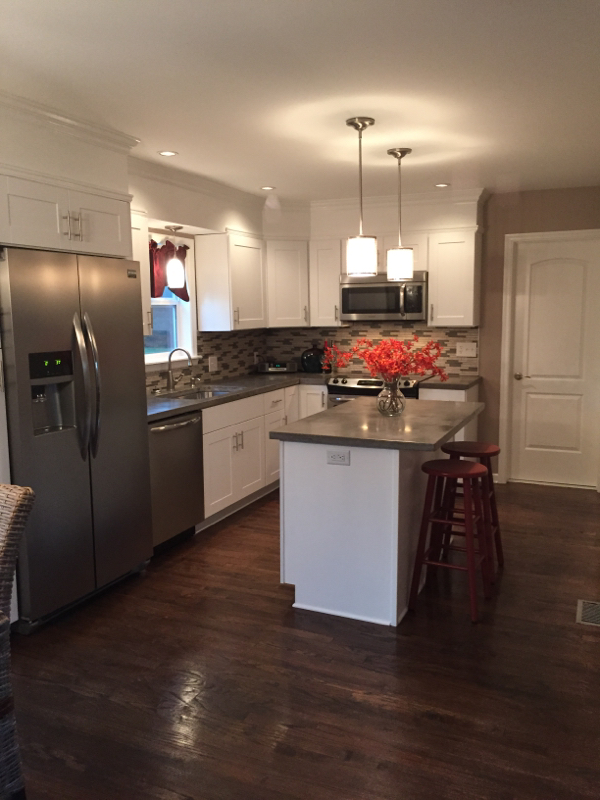
 Kitchen
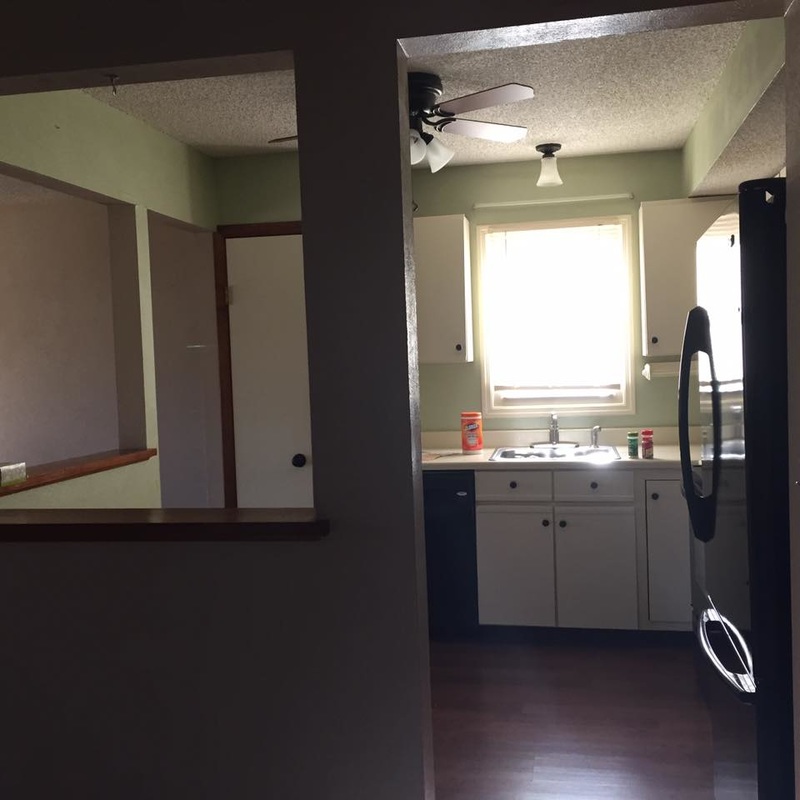
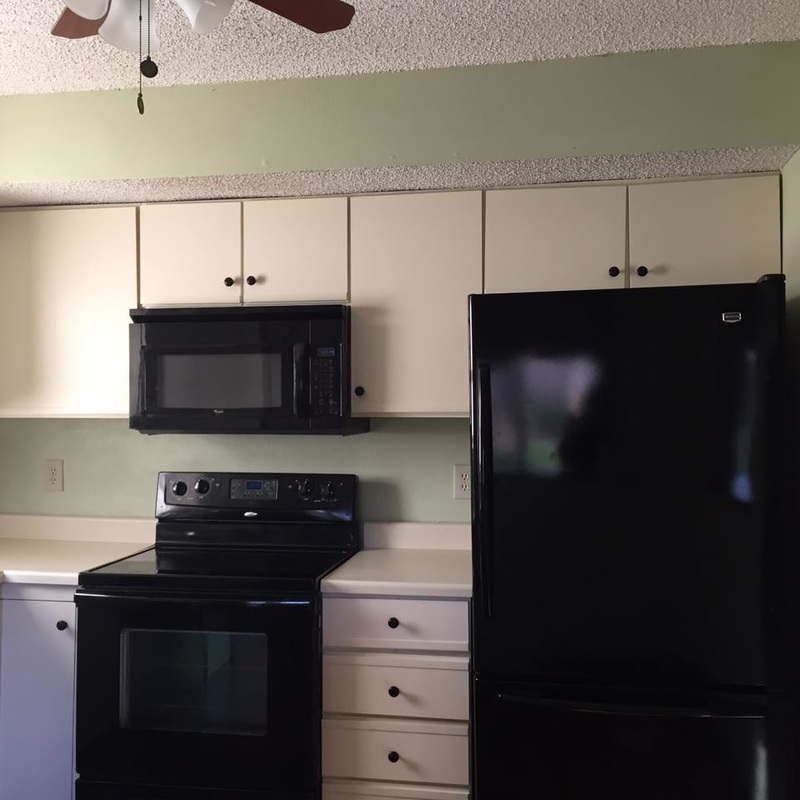
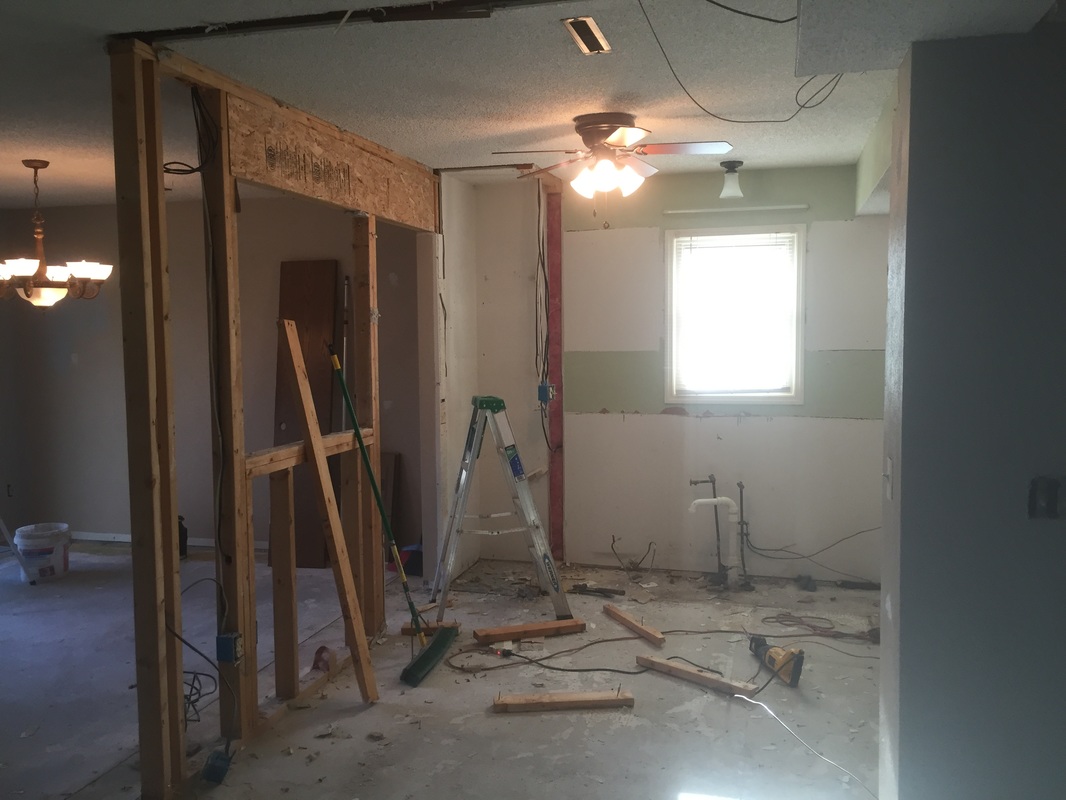
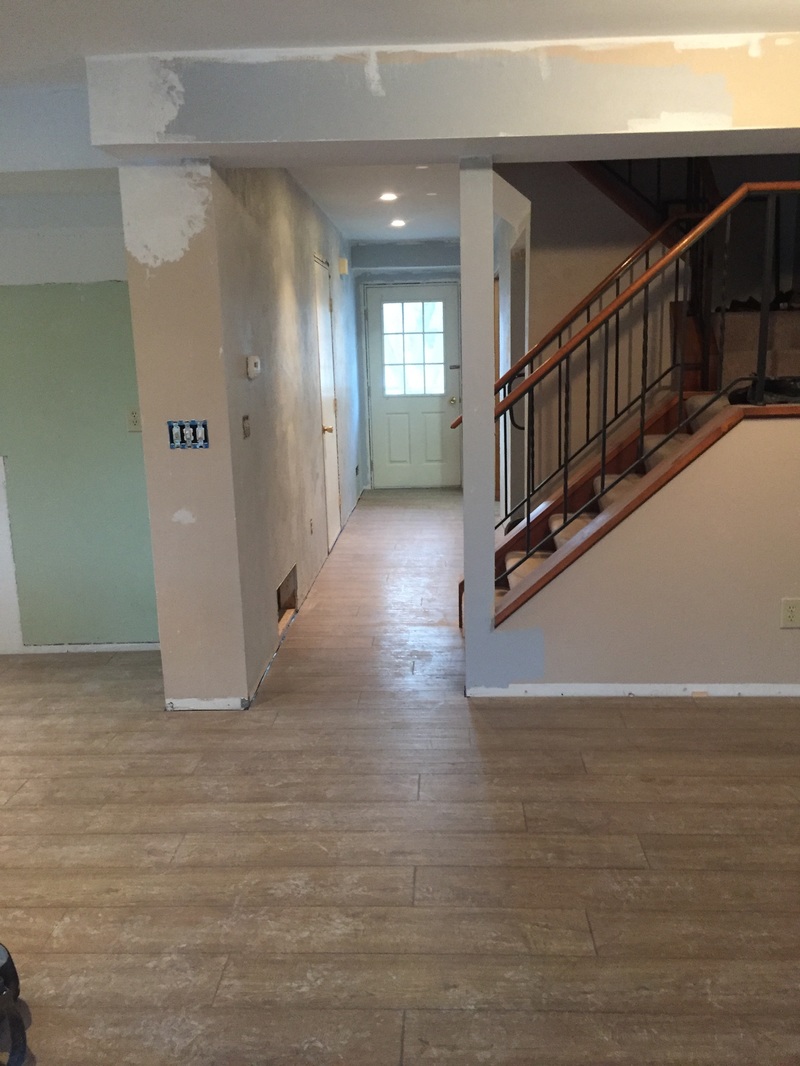
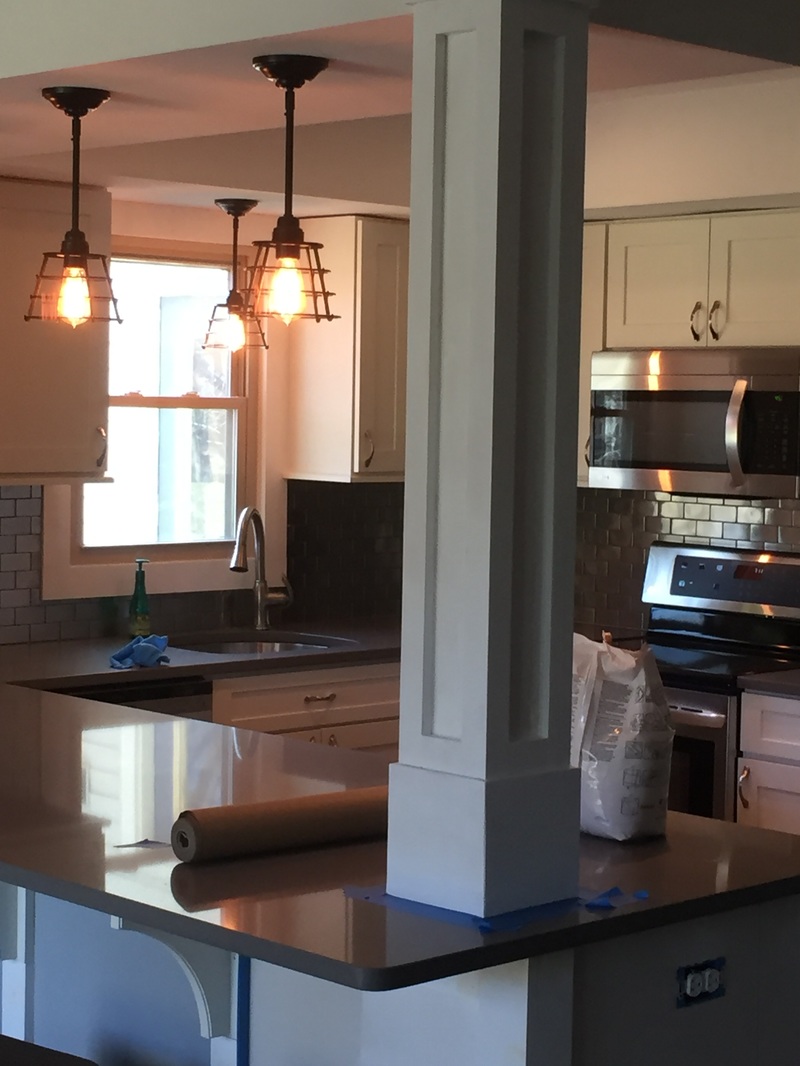
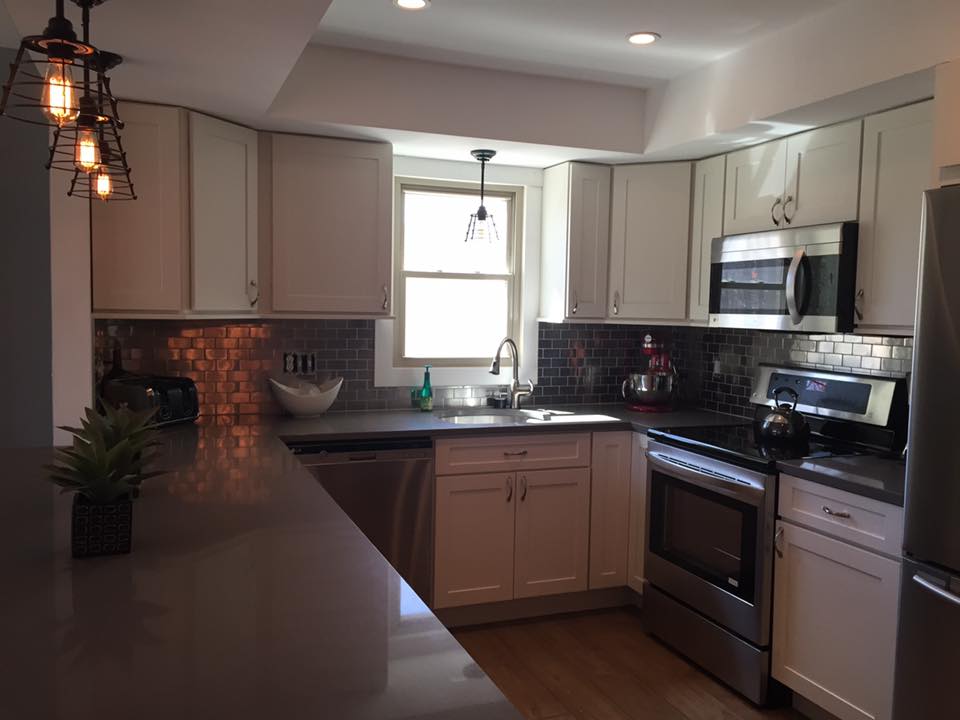
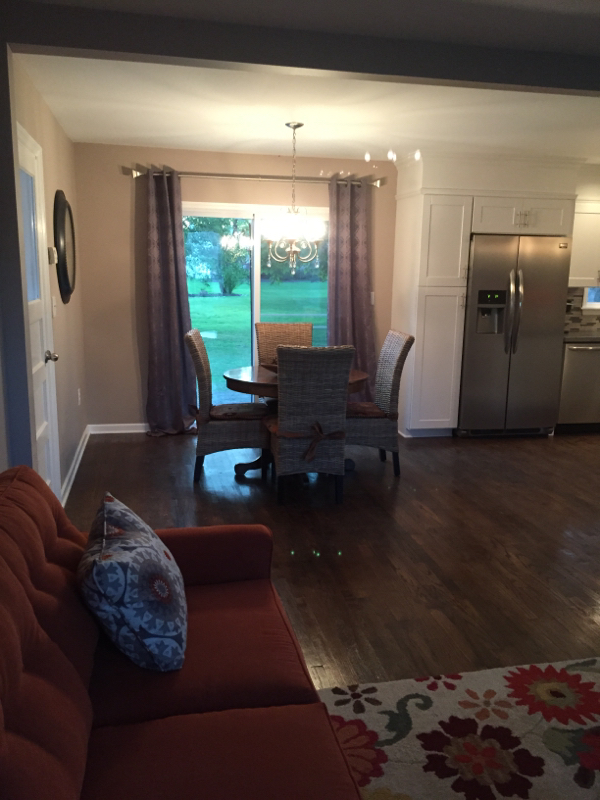
The kitchen had Laminate over vinyl, the living room was carpeted. Popcorn ceiling visually lowered the first floor. The kitchen was closed in by two walls with Look through openings. It really closed off the kitchen from living space. The plan was to design the kitchen to create more of an open floor plan design. The home owners got started by removing all the cabinets, appliances and floor coverings. I removed the non supporting wall that divided the kitchen from the dining space and added a post and beam in place of the wall dividing the kitchen from living room. 
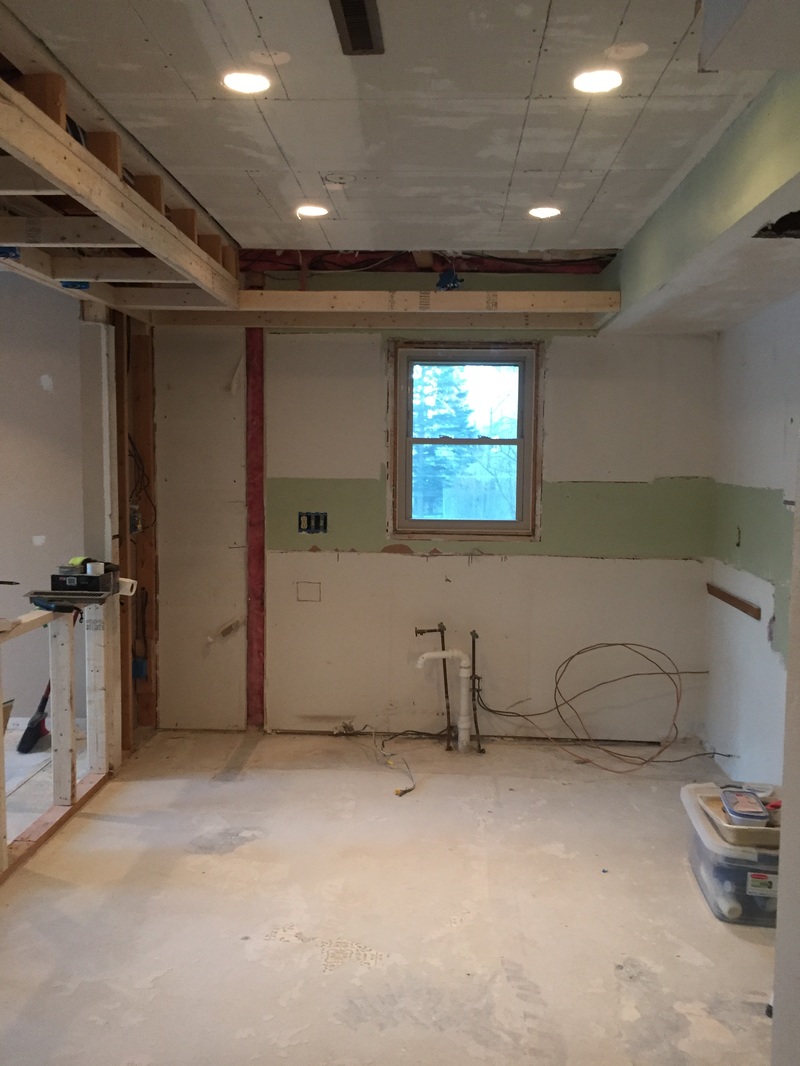
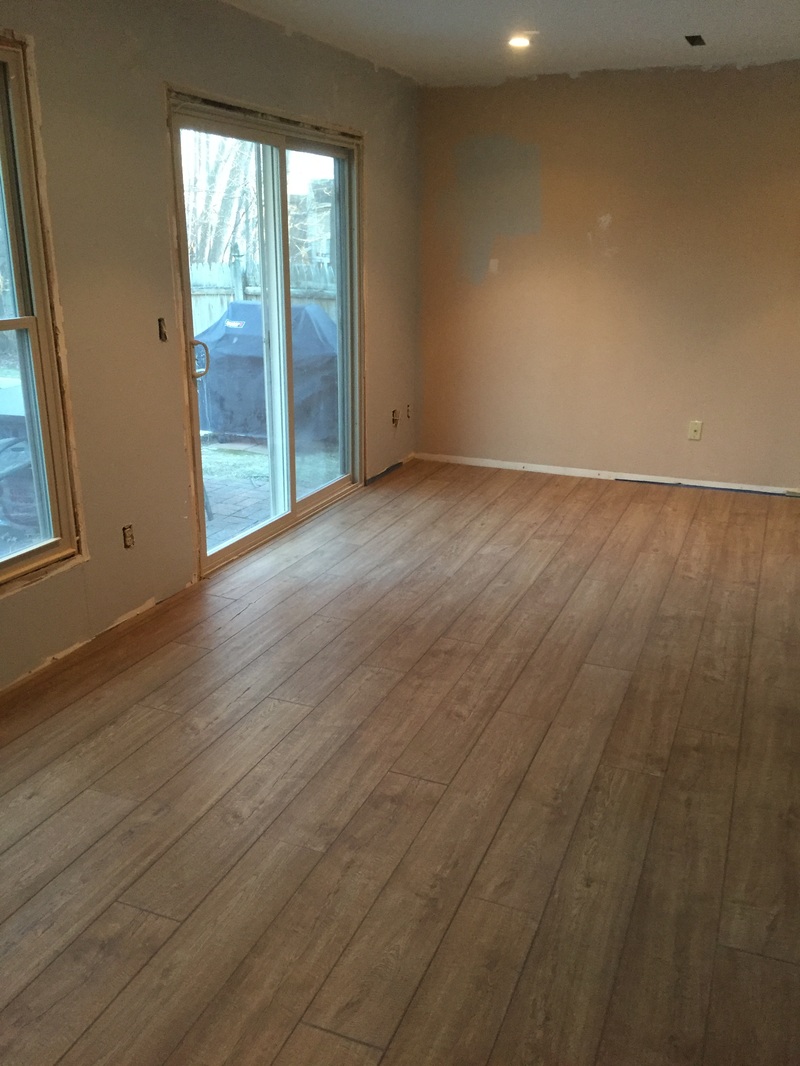
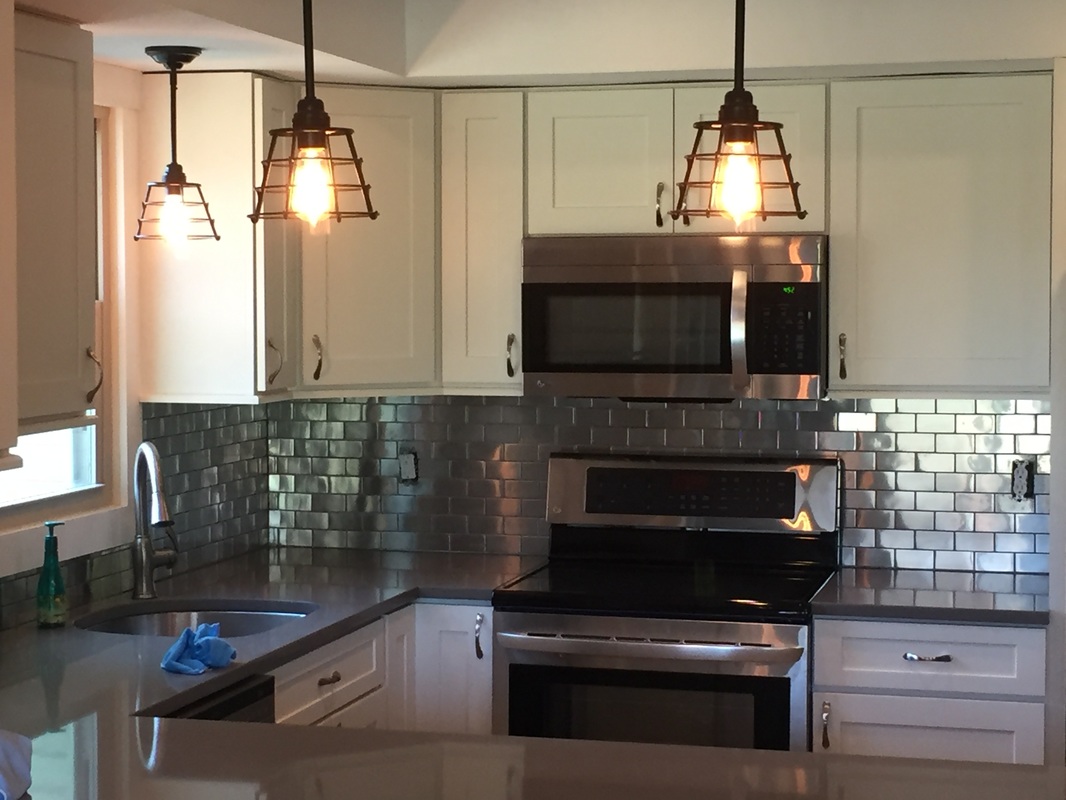
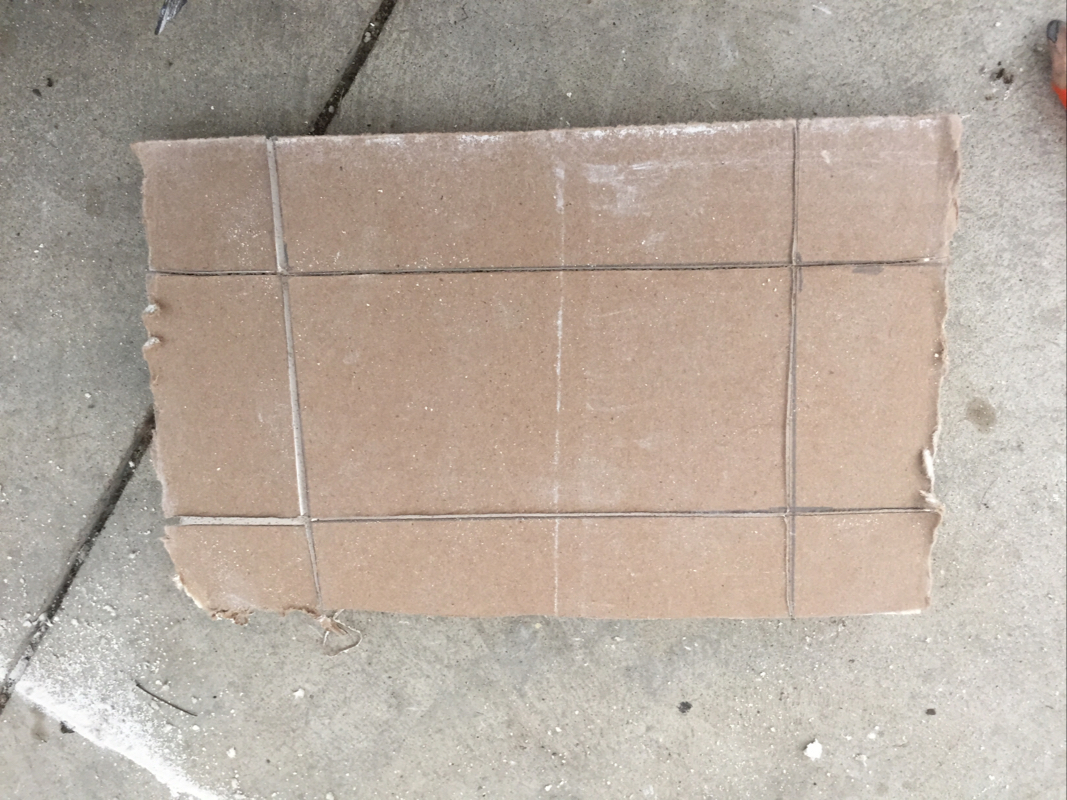
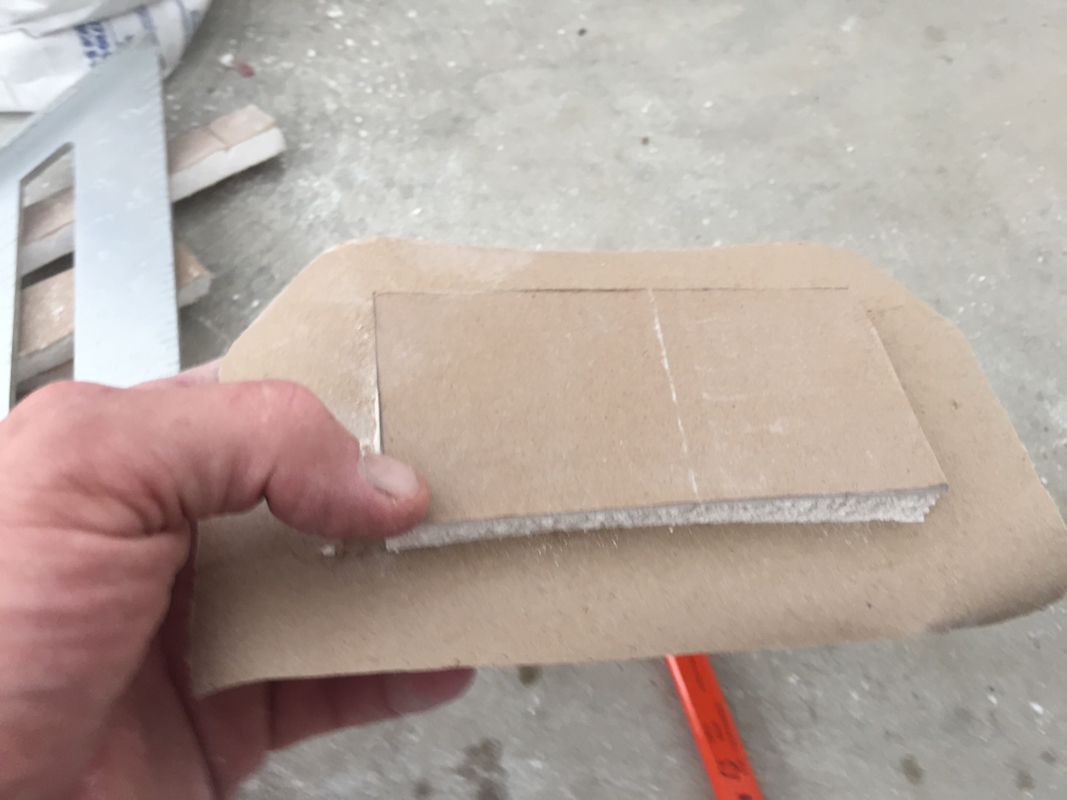
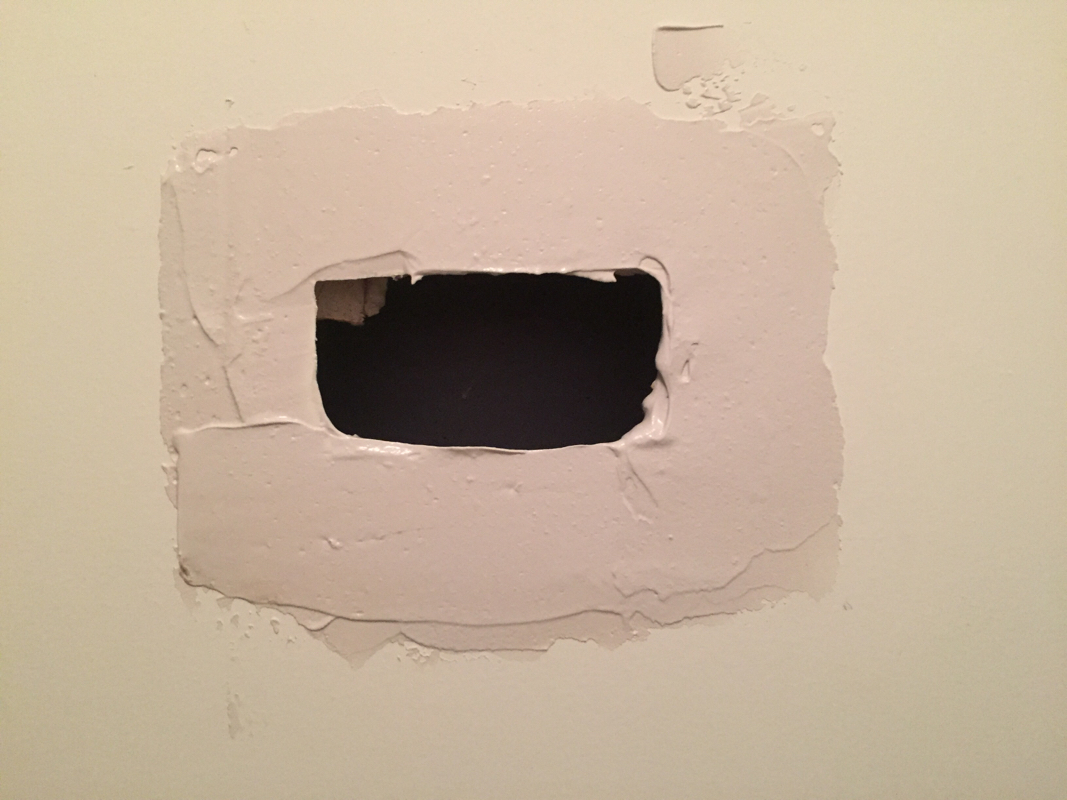
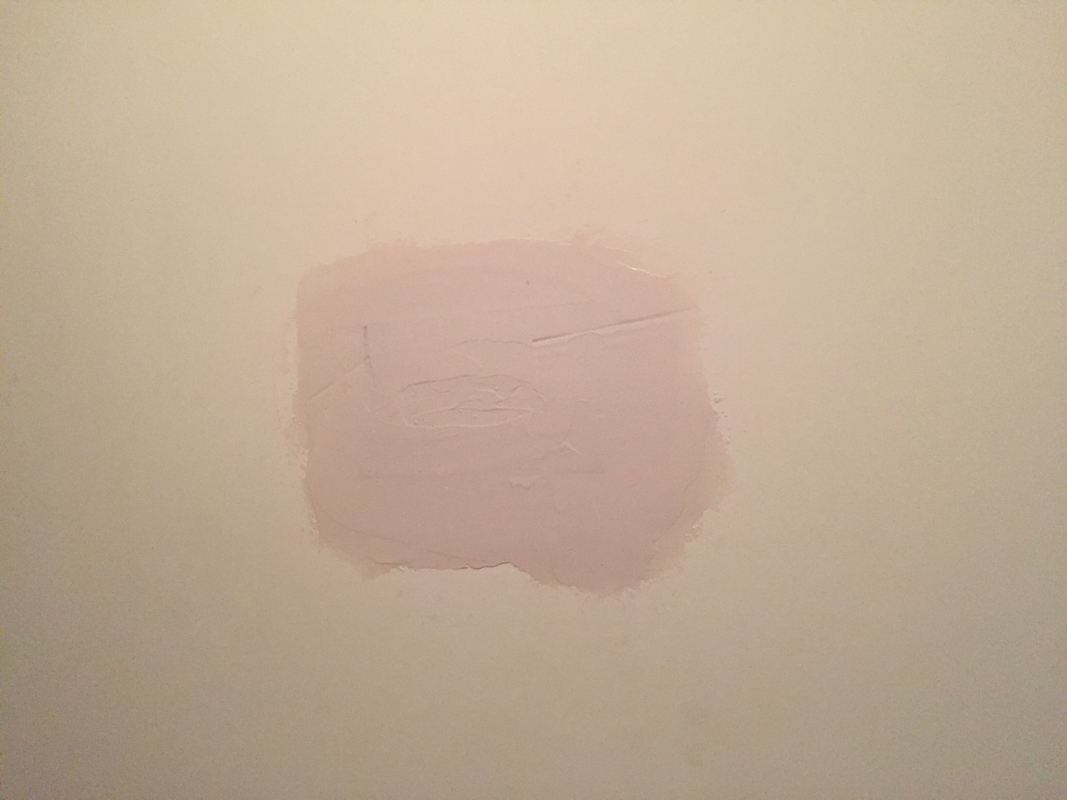
The townhouse had a kitchen window, rear slider and two living room windows. It is located in a fairly wooded area, and these window were not doing the job of brightening the space. It was built with lamp style lighting, switches that control and outlet to turn on a table lamp. We added recessed lighting, a chandelier and pendant lighting. The homeowners took on the task of removing the popcorn ceiling. I had no experience in this, but with some googling and elbow grease, I was surprised how easily it can be removed. 
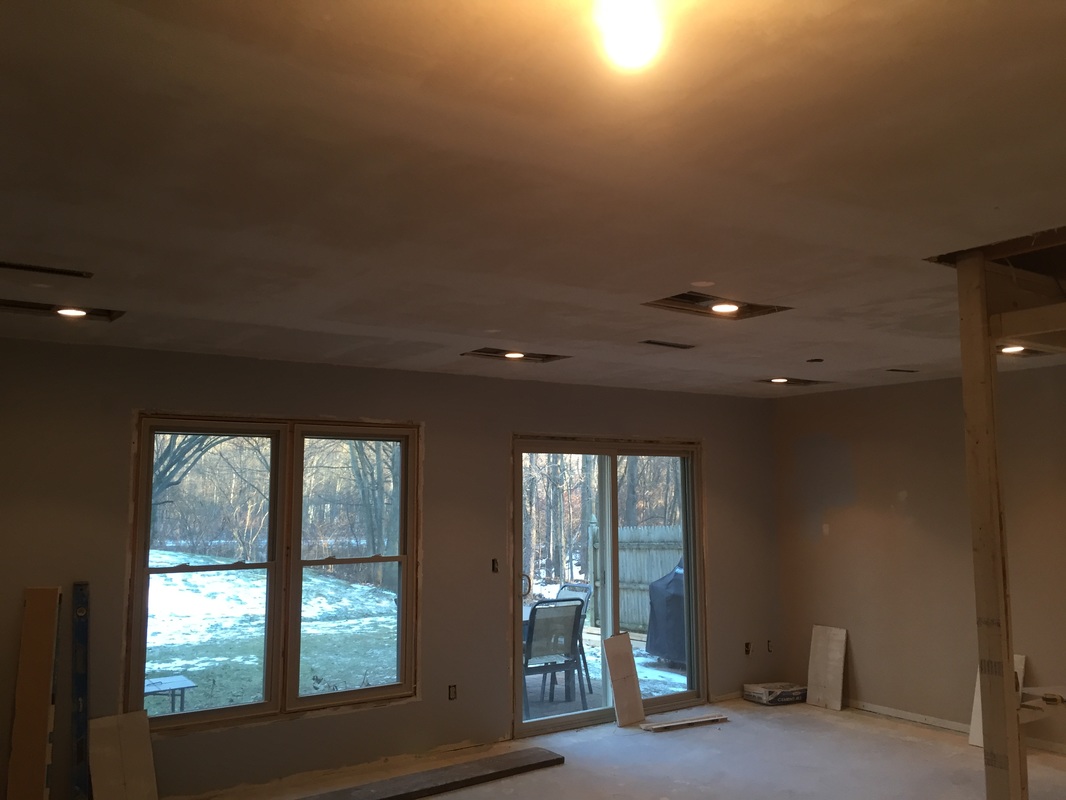
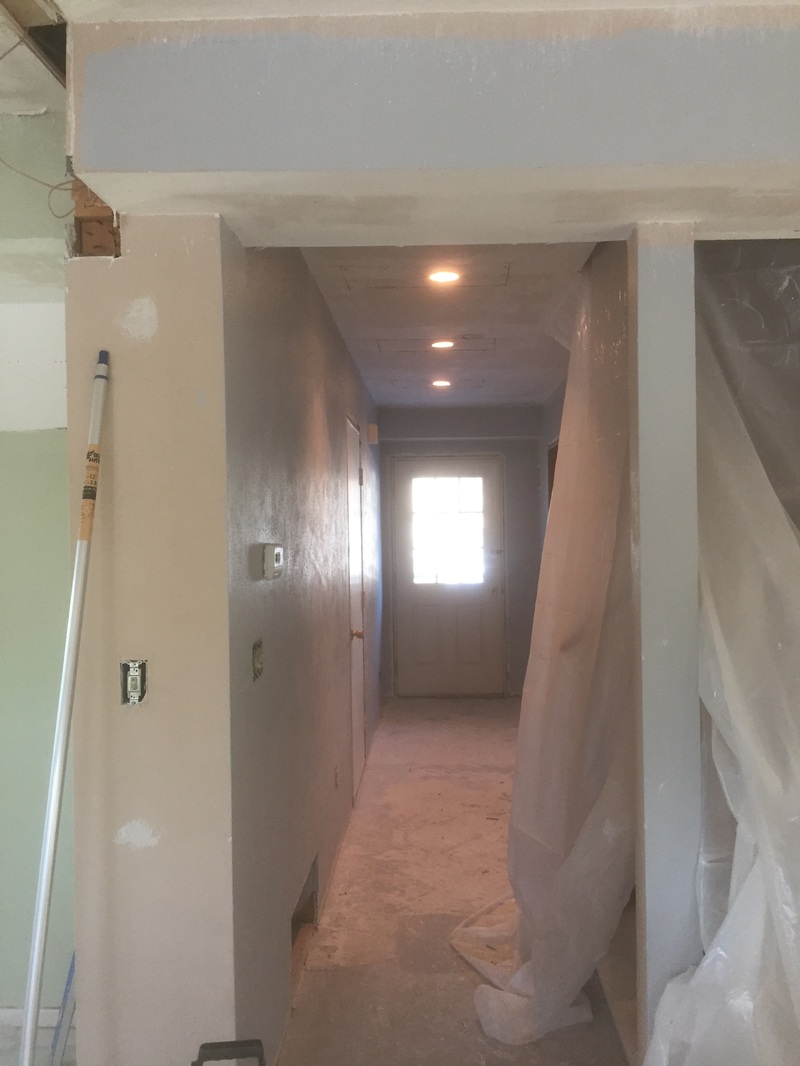
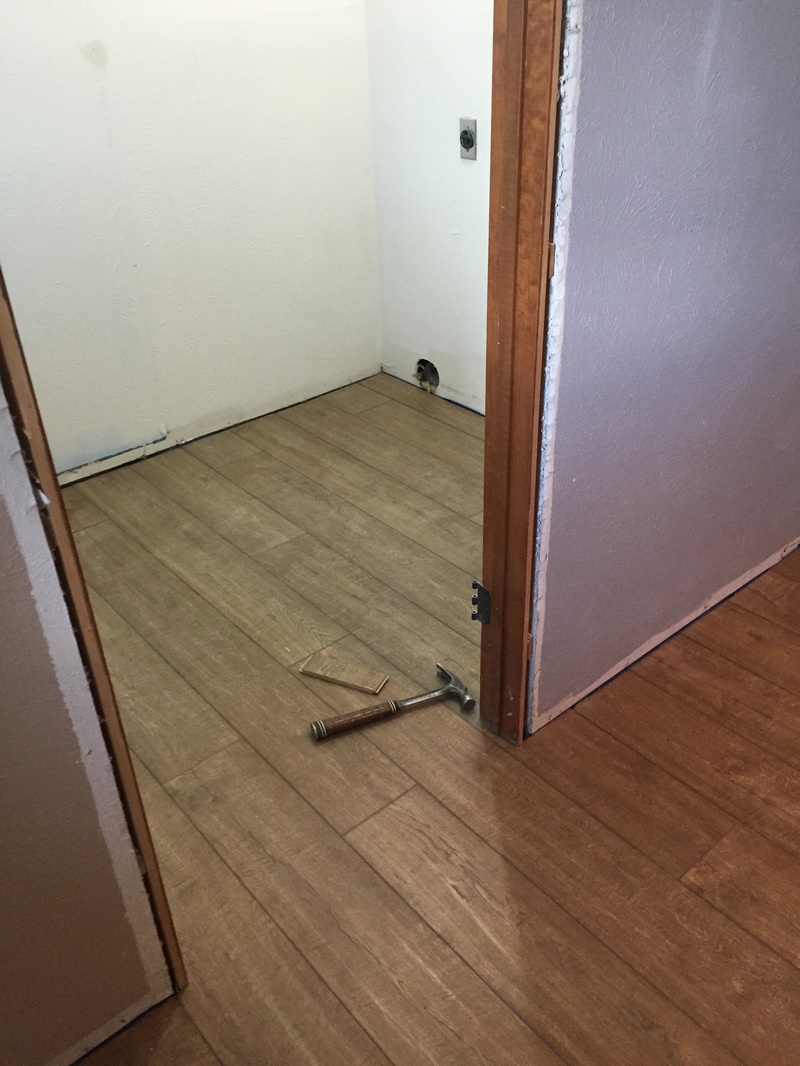
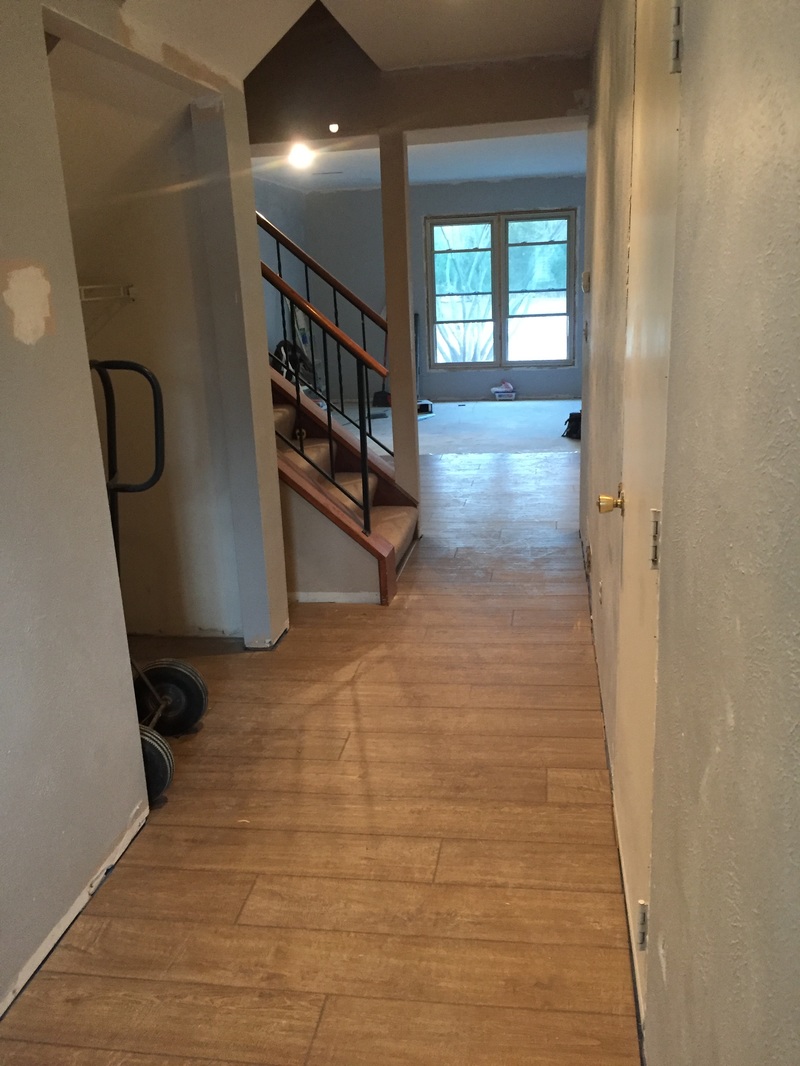
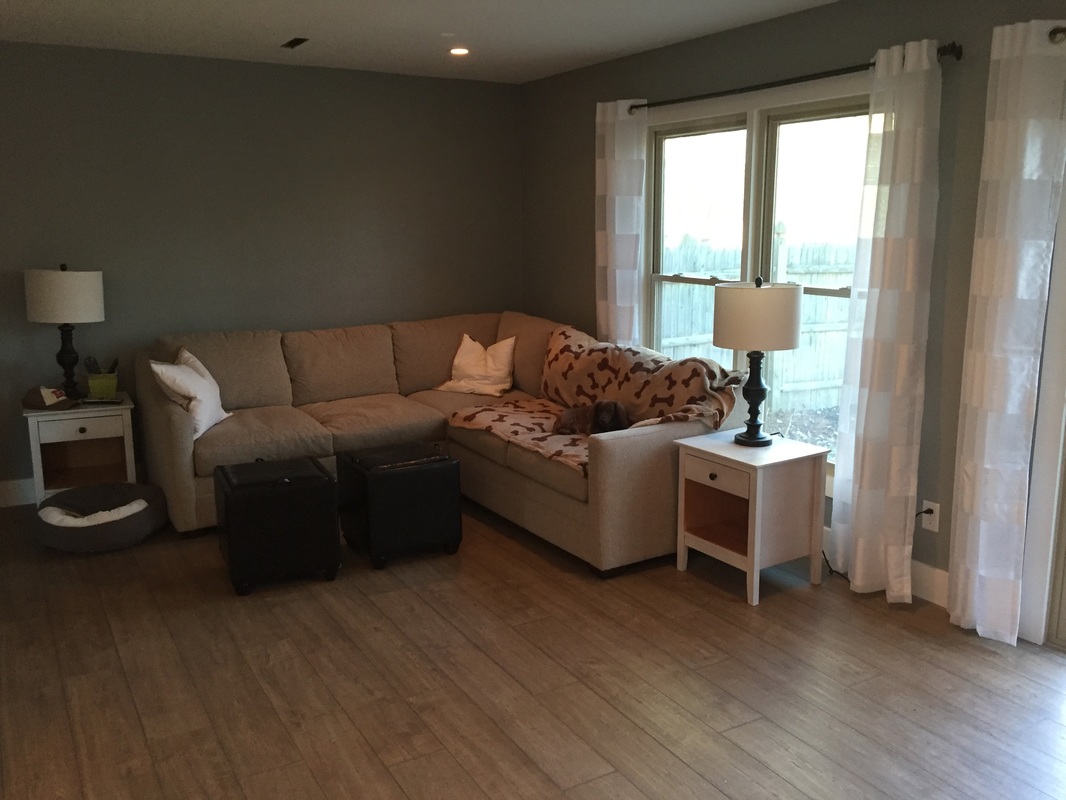
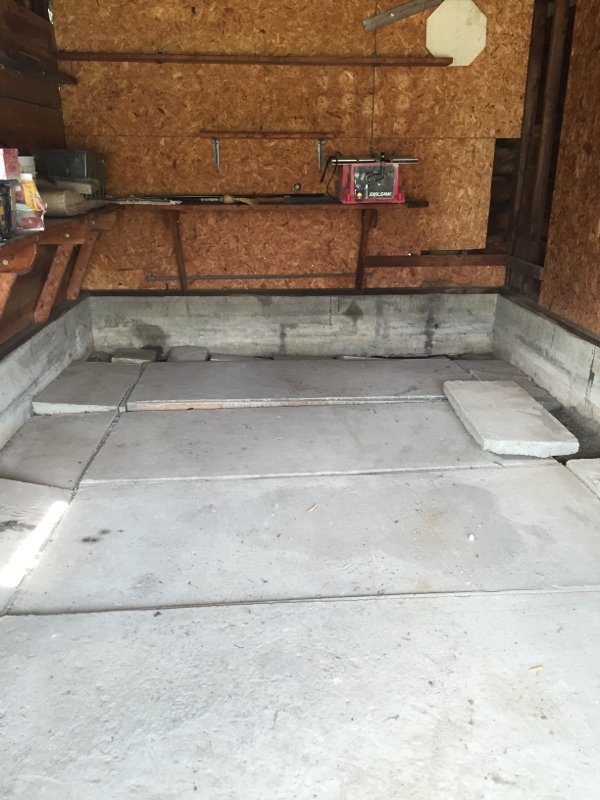
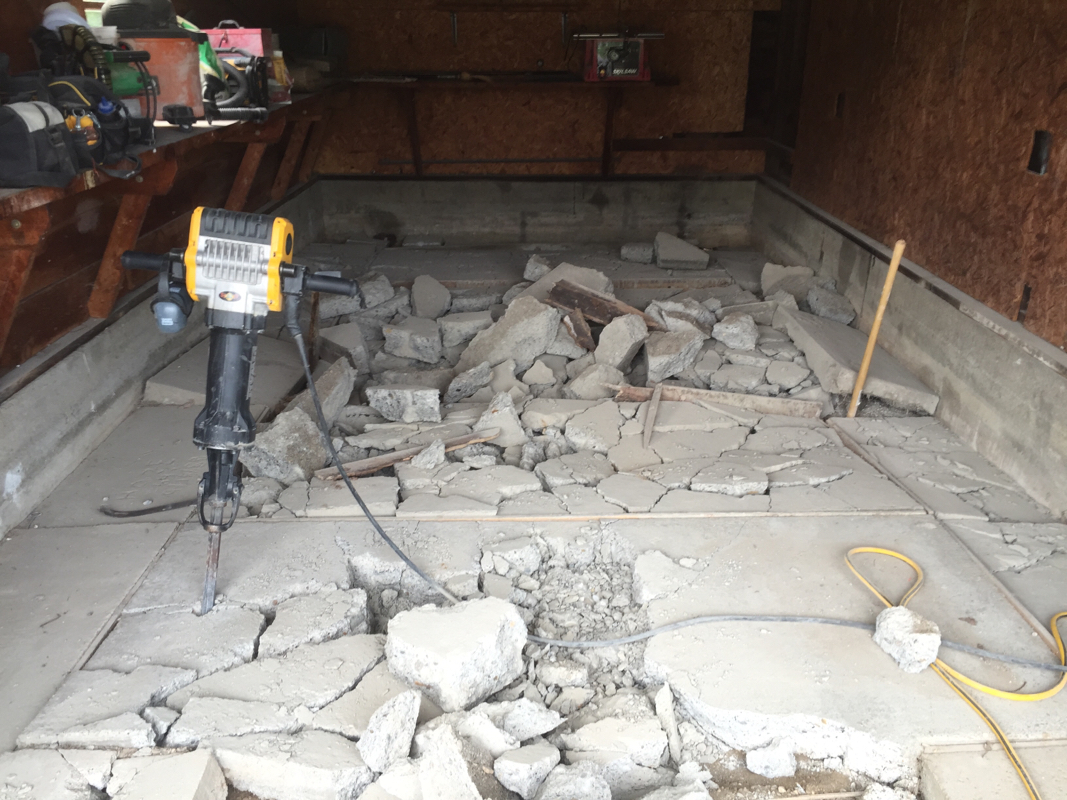
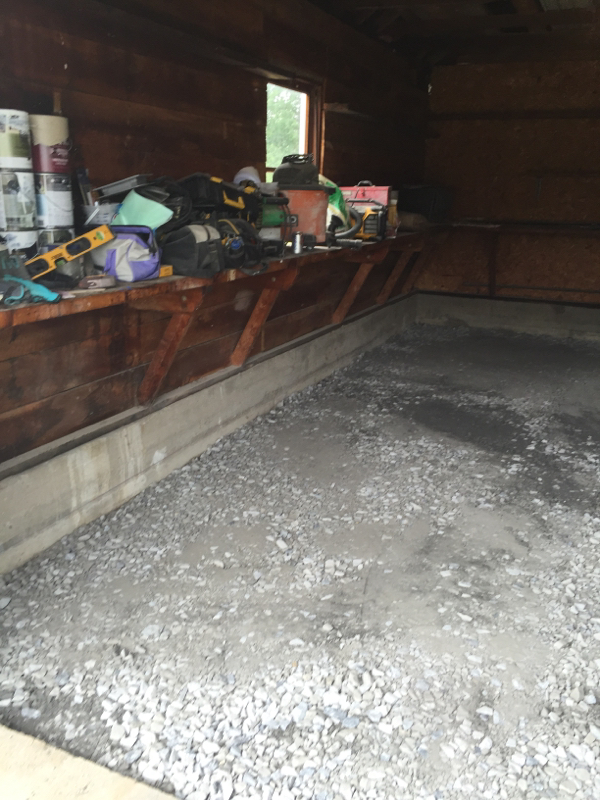
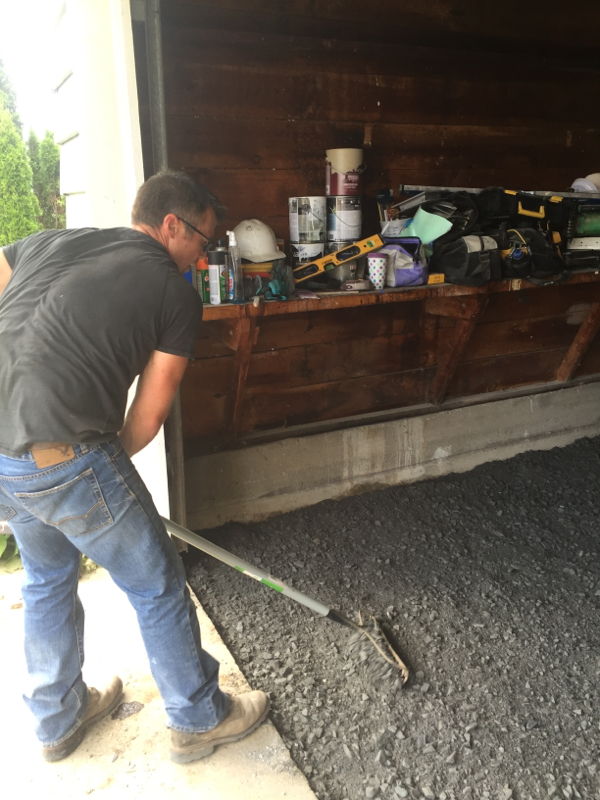
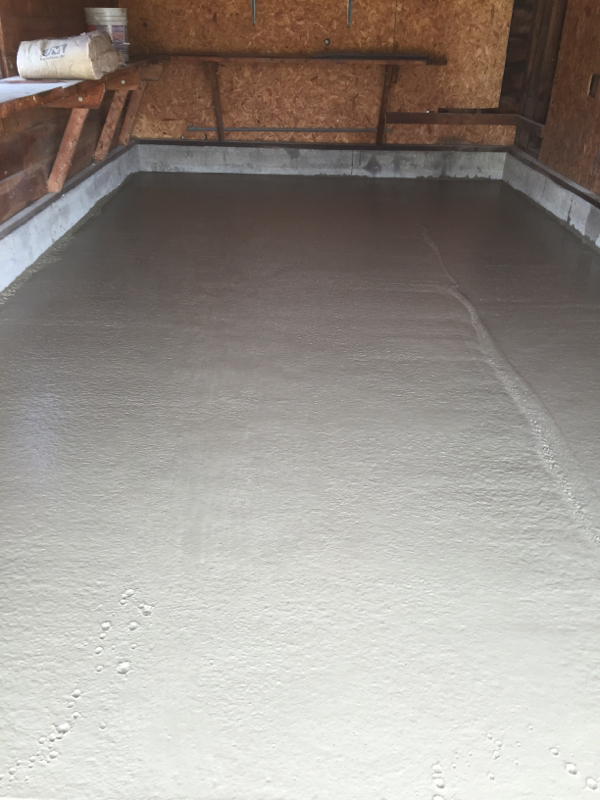
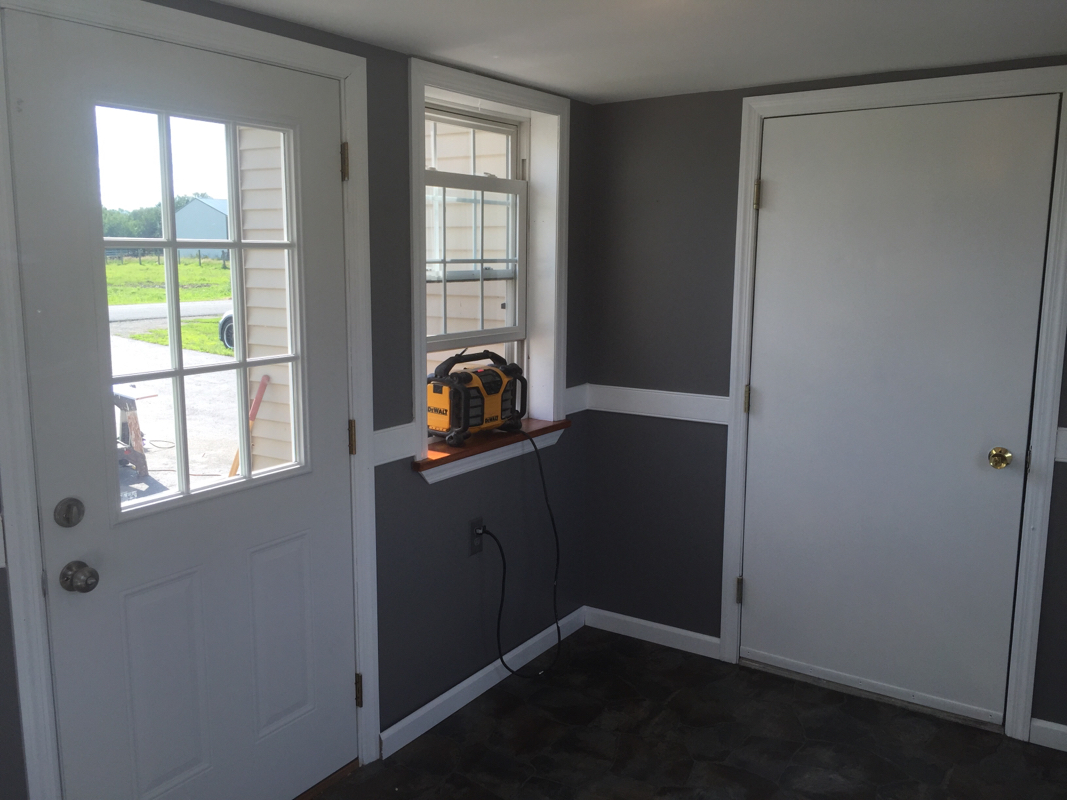
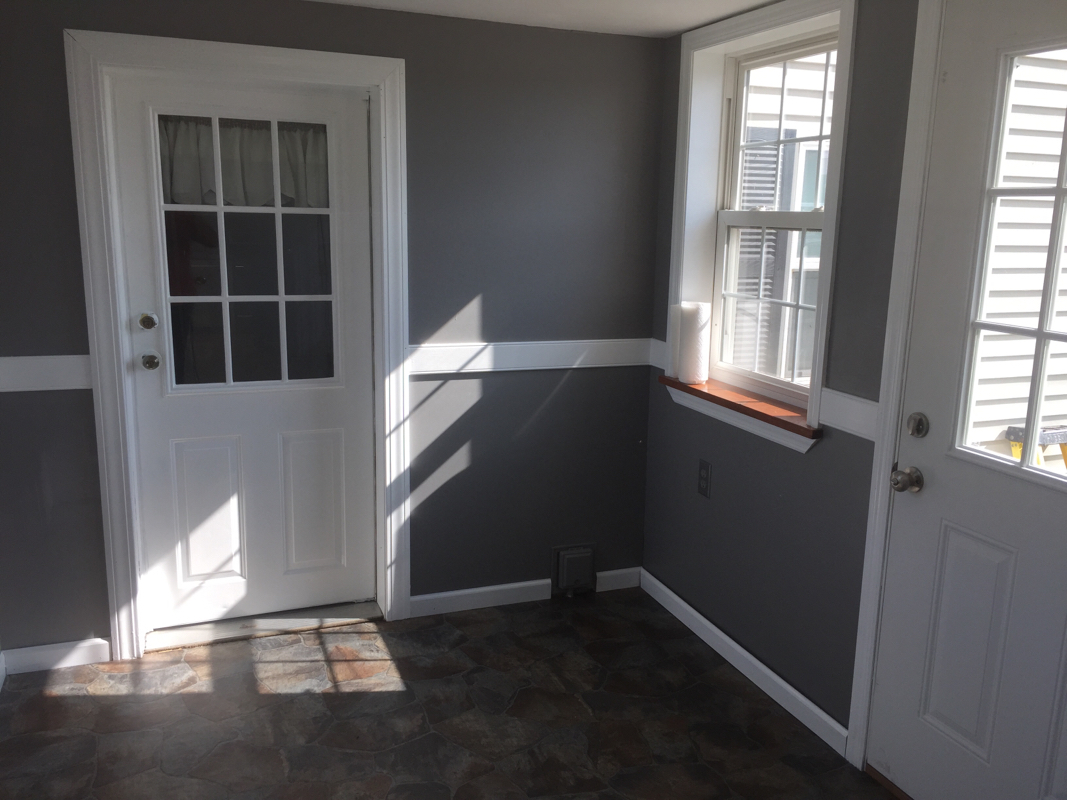
Now that the lighting is installed, the popcorn ceiling has been removed and the plaster repair is done, it is time to install the flooring. The condo's first floor is on slab which had settled over the years. There was some prep work necessary before the floors could be installed. What a difference a single floor covering throughout the first floor made. It really ties all the spaces together. 
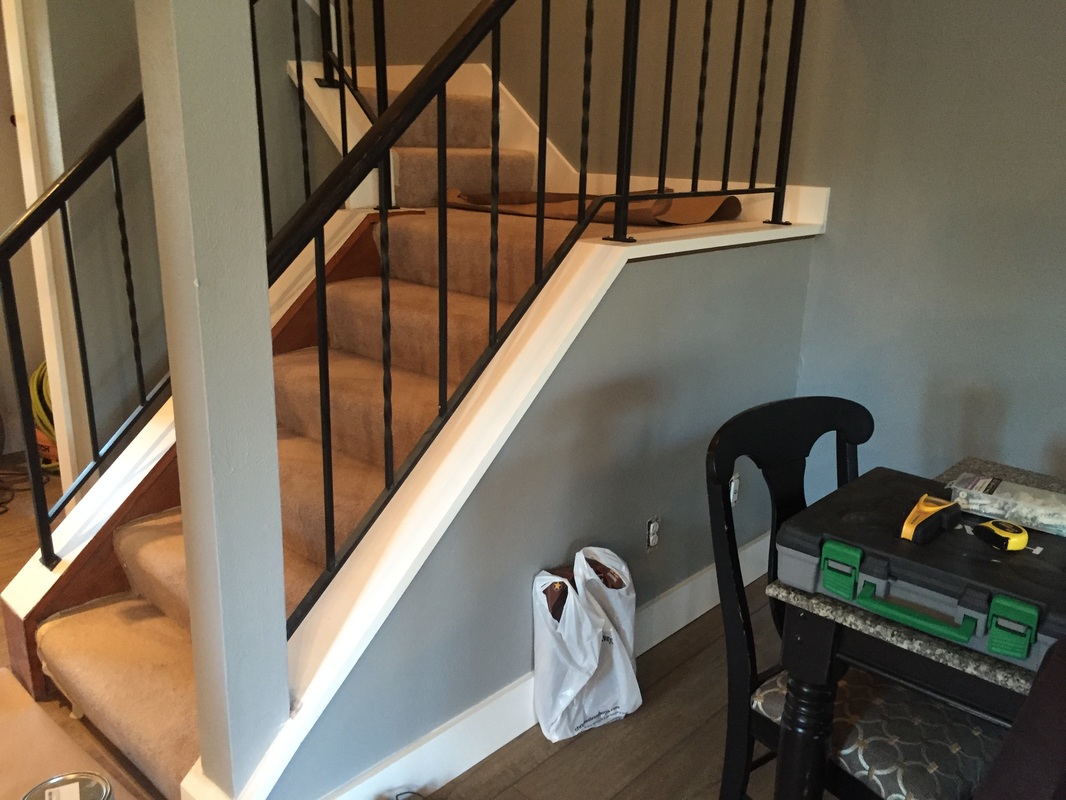
Time to pull it all together with the finishes. Cabinets were delivered and installed, trim work completed and the paint was going on. 
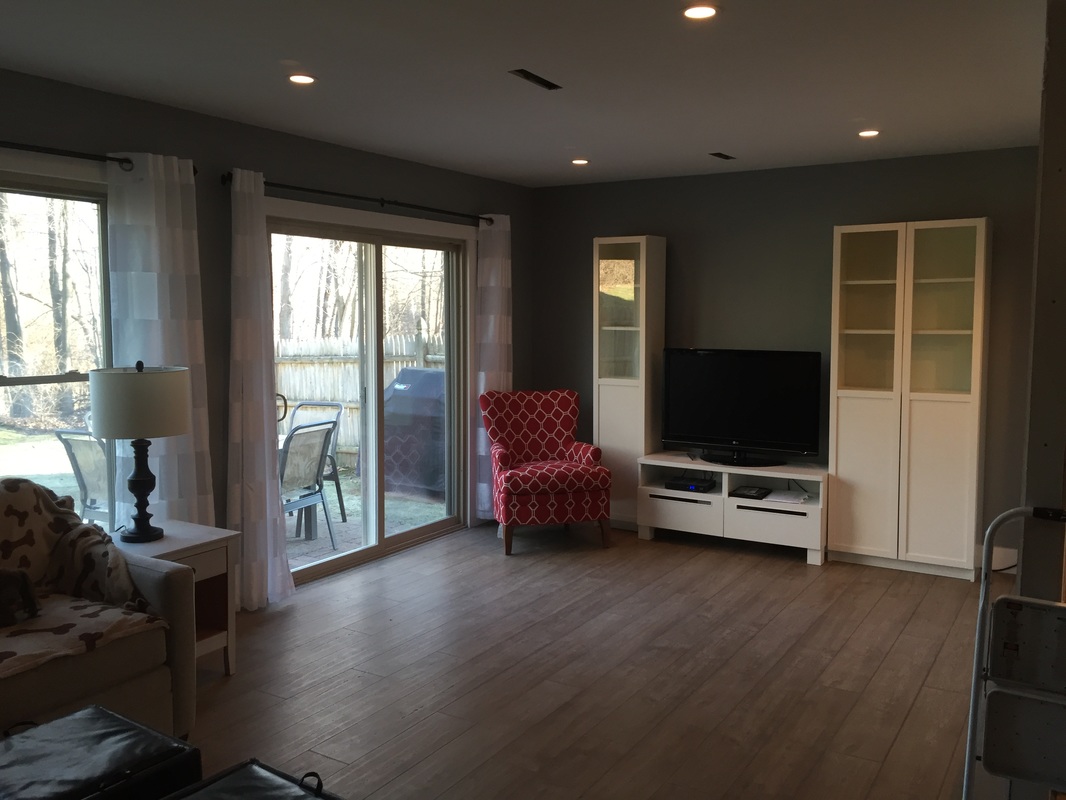
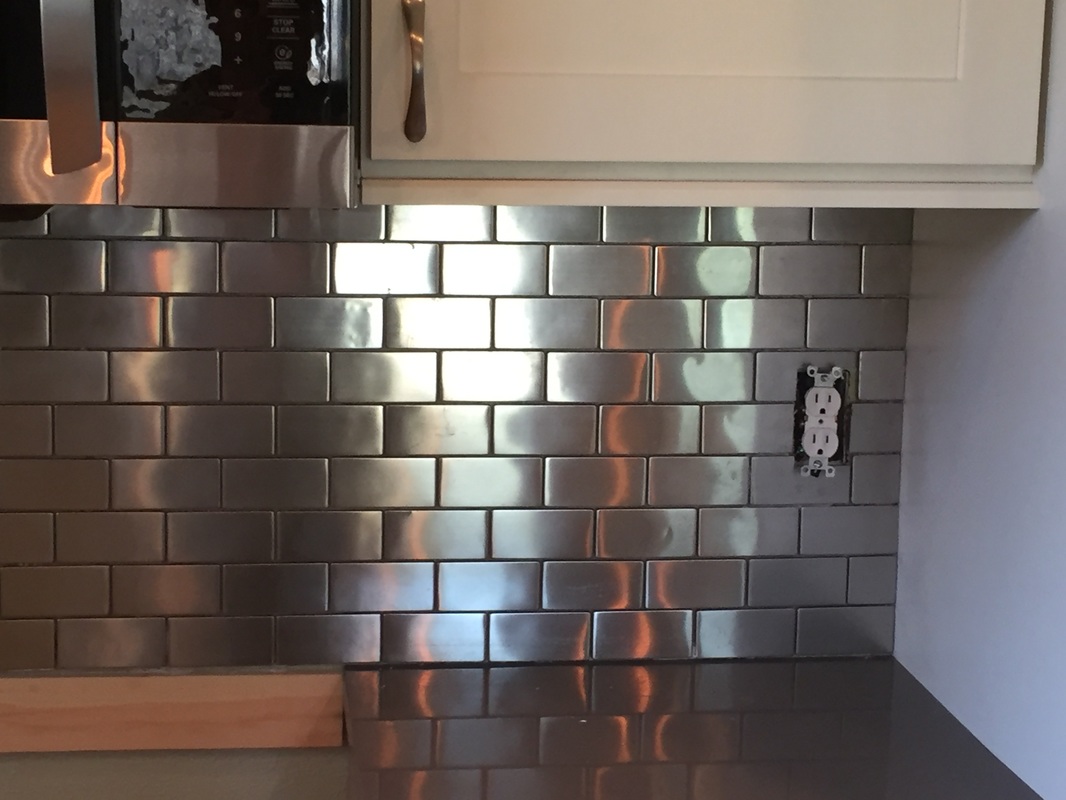
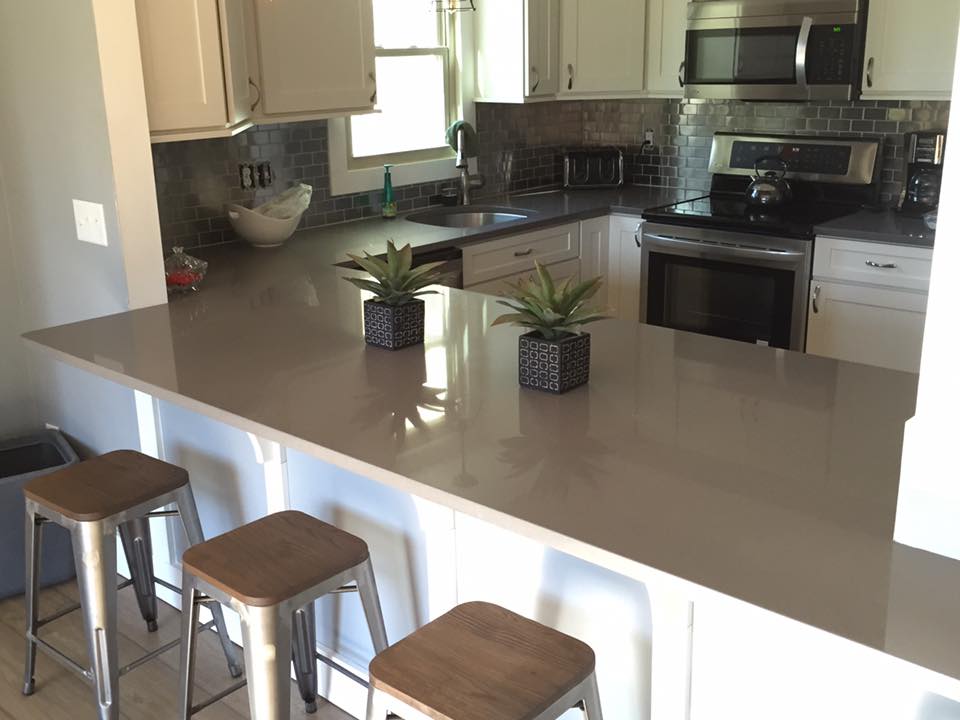
Stainless steel subway tile was chosen for the kitchen backsplash. A sceptic at first, but after it was completed I was a fan. It really added a clean finish and modern touch. This makeover was absolutely amazing. What a great couple to help make this townhouse their home!!
0 Comments
This beautiful veneer is made from Chippewa Stone's Black bear granite. This recently built ranch , built by LaFemme Homebuilders, Llc. ,has just hit the market in Saratoga Springs. You our can view the listing information at Check out this property via Trulia Mobile app http://www.trulia.com/property/1049671203-4-Caitlin-Ct-Saratoga-Springs-NY-12866 The covered front porch is dressed with a Granite apron with a stone rain sill . The open floor plan features a Granite fireplace with a raised hearth.
With the cold weather approaching, now is a great time to add a little warmth to your home. Here you can follow a simple fireplace surround built around a Slim Line Gas Fireplace. This takes up very little space in your home and adds a lot of character. We originally had a 20" deep TV stand under a hanging Plasma TV. Once completed the fireplace and cabinets protrude into the room 17" adding some room for more seating in this small space. Below is the rough framing. The Pats were playing the Giants so priorities had to be in order. Inexpensive MDF panels and appearance grade pine was used to build and trim out the shelves and fireplace. Gotta get moving here! Patti the painter is catching up ; ) MDF Panel and crown molding was used to build the mantle, shadow box and contractor grade crown moulding. Very tight budget. Here black granite was used to surround the fireplace. Just in time to enjoy the game and the Holidays!!
I had the priveledge to dust off my grinder and trowel to install some cultured stone for a great couple building their dream home! They chose Boral Southern Ledgestone! This is one of the best cultured stone products, it has great colors and shapes. They also installed some awesome light blocks and recepticle blocks to give this entry a clean professional look. This stone fits perfect with the style of this home and the beautiful Farm setting.
I was recently asked to build a replacement deck for a family on Lake Luzerne NY. Their previous deck was not built on solid footings and the snow load was pulling it away fro the home. It had been removed and the house was re-sided. I stripped the siding where the ledger board would be located, move a spigot further down the home away from where the deck would be and got started digging! Easy digging with the exception of the stones!! It was hard work but it is worth the effort! In the Lake George area the frost can get deep and if you don't dig deep enough by spring the frost could push your deck up and ruin your efforts! I installed 3 8" sonotubes to support the deck beam. I used wet set post holders to secure the posts to the footings. These are a great way to ensure your deck is permanently attached to the footings. I have run into some issues with the bolt in post holders not biting well to the concrete and allowed for a slight wiggle in the deck. These wet set fasteners worked very well. The framing was completed using 2x8 joists attached with joist hangers to the ledger board and toe nailed + hurricane tied to the beam. 4x4 posts were notched and attached to the deck with three 5" ledger lock bolts. My original plan was to use thes posts for the railing system, but the color was way off. A simple deck is installed by running the deck boards in one direction across the joist form front to back with the ends of the decking exposed on the sides of the deck. I used a double boarder around the fron and sides of the deck. It takes a little mor framing and time but adds a detail that stands out. I picked up some appearance grade 1x6 pressure treated lumber. I used these to wrap the off color 4x4 posts. Added some 6x6 post caps and some base molding made from scrap deck boards! I love it. Ok! I learned this tip from a very close friend that will remain unnamed due to his already expansive ego. Today I was working to get a beautiful house ready to go on the market! It is in very good shape with the typical wear and tear that a ten year old house will show. Dings and dents in the drywalled entryways, nail holes from pictures, pet boredome damage and the occasional, take your frustration out on the drywall, fist hole or two. So when you have a hole that's as large as a fist, what do you do? I like to use a butterfly patch made from a sheet rock scrap. First, square off the fist shape into something a little more manageable. A rectangle will work. Measure the dimensions of your rectangle. Now cut from a scrap piece of drywall a rectangle that is two inches bigger on all sides. On the back side of your piece center the size of your hole. Mark your lines from edge to edge of the drywall piece. Now, using a razor knife score your lines through the paper and half way through the gypsum. Like this.... Now snap the drywall and peal the edges from the paper facing of your scrap piece. You should have a patch with the exact size of your hole on the center and two inches of the facing paper on the front to overlap your hole. I needed to patch this and coat it the same day so I used 20 minute hot mud to set the patch. If you have time , premixed mud will work just the same. So mud your wall. Slap your patch in the hole and gently seat the paper edge into the mud nice and flat. Drag your knife along the paper pressing to squeeze extra mud out and leaving a flat surface to second coat! Now you'll be ready to third coat and sand. This is a great drywall repair technique in a pinch for small holes. Patti and I got some feedback about our remodel that wasn't so good! The garage floor was unlevel and unusable! We knew it was a problem for buyers and decided to fix it. Poor old garage floor has seen its better days. The aggregate below the slab was sand and eroded! The concrete had sunk about 6 inches in the back and sides. Time to get rid of it!!! Patti was not too thrilled when she heard we had to haul it out!!😟 This time we will use crusher run as our base. About 5 yards!! Patti was not too excited about this either! 😠 Now the fun part. Tamp it down! Now it won't be going anywhere. Add some wire mesh! We poured the concrete! I used a power screed and was able to level the concrete very quick and easy! Now it's time to float and finish. It's very common to wrap fascia boards with painted aluminum. While redoing an aging roof recently it became apparent that by doing this you could be prolonging damage not only to the fascia boards but also to framing members. You can see that the fascia on the photo appears to be in good shape. But hiding behind the trim work was trouble. Water had been penetrating the aluminum for a long time without anyone knowing! Damage was isolated to the rafter tails. If it had gone on any longer the rafters would have had to be removed and replaced! In this case I was able to cut out the damage and replace the rafter tails. I love the look of real wood! The fascia in this case if it had been painted pine, the damage to the fascia board may have been noticed prior to the extensive damage to the framing. I did some research and uncovered quite a debate on wether or not a set of stairs or deck should be flush with the exterior door threshold. Recently I was asked to replace some subfloor that had rotted through the floor of my family's mudroom. The front door to the mudroom had a set of stairs where the to step was flush with the threshold and the rear door had a deck that was placed 5" below the door opening. Both doors were only secured thorough the brick mold exterior trim. They had not been shutting well for a few years. To fix the situation I replace both doors and flashed them with door wrap and ice and water shield I installed a new deck mounted below the threshold 7.5" which is a standard rise. I removed the rotted subfloor from beneath the doors and replaced and installed a new substrate and linoleum. I guess I fall into the camp of mounting stairs and decks below the threshold to prevent driving rain , snow , and ice from easily entering your home and wreaking havoc! Patti and I have finished the final touches of this remodel and we are excited to show it off to the world!!! Open house- $239,900 Saturday June 27th and Sunday June 28th 10am-6pm 1027 Hudson Ave Stillwater, NY 1600 sq ft Full basement Beautifully remodeled 3 bedroom, 2 full bathroom Cape Cod style home. Fully refurbished kitchen with new appliances!! Tile floors and shower surrounds in the bathrooms and hardwood floors throughout the first floor. Fresh carpeting for the newly expanded upstairs bedrooms. Open Kitchen, Dining and Living room! Terrific home for entertaining!!!! |
Archives
June 2016
Categories |